

Creating a historical graphic story
Order or download our special Schools edition of the Peterloo – Imagine a World graphic novel FREE at ageofrevolution.org
This activity is suitable for students aged 8-16, you can download a free, printable PDF version here.
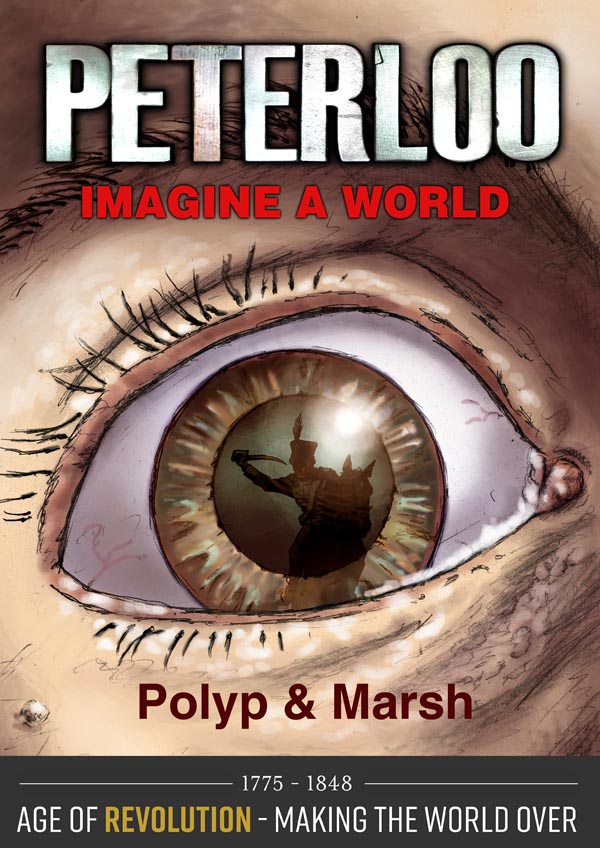
The Schools edition of Peterloo.
A graphic novel brings characters and events to life, through a series of ‘cartoon’- like illustrations and dialogue. This is a great way to explore people, ideas and events from the Age of Revolution, and to relate them to students’ lives today. Our special Schools edition of the Peterloo – Imagine a World graphic novel is an engaging example of how this approach can be applied to historical events.
By creating their own historical graphic story, students can develop skills and knowledge in history, literacy and/or art & design. Try the activities below. Students can work through the entire process over a series of lessons to produce their final work, or ‘pick and mix’ from the different examples depending on the learning focus. They can centre on the Peterloo massacre – as we have, or a different historical theme or event from the Age of Revolution.
1. Inspiration
Use our Revolutionary collection of extraordinary objects and images to introduce students to the Age of Revolution. You could look at the Age of Revolution as a whole, concentrate on a theme – like Transport, Riots and reforms, the French revolution or the Industrial revolution, or focus on a particular event such as the Peterloo massacre, Captain Cook’s voyages to the Pacific or the Montgolfier Brothers’ first flight in a balloon.
Our Education section is packed with a range of guides and activities to help with this.
Students can read Peterloo – imagine a world. They can also look at other examples of graphic novels in different styles – here are some ideas.
Students could also watch our Age of Revolution animation – a light-hearted take on some of the period’s people and events.
2. Generating ideas
Creating an entire graphic story can be a daunting task – especially for younger students. Decide whether they will create just one or two panels, a short sequence of panels or a longer ‘book’. Try these activities to help students generate and refine their ideas.
Scene senses
Students make a quick sketch of a scene which might appear in their graphic story. They imagine they could step into the scene and explore it completely undetected. They write the name of the scene in
the centre of a piece of paper, divide the rest into five sections and record their ‘observations’ under these headings:
- I see…
- I hear…
- I feel…
- Before this…
- Next…
Tableaux and close-ups
Students could represent key moments in their story through physically creating ‘freeze-frames’ or tableaux. They should consider their facial expression, gestures, body position and shape. They could photograph each other in different tableaux and focus in ‘close-up’ on the different facial expressions. They can then use these to help create their illustrations.
Character silhouettes
Students draw a simple outline of a person – they could do this by drawing around each other on a giant piece of paper. They populate the space with words to describe a character in their graphic story. Inside the outline, they write words which reflect the character’s internal motivations, desires, hopes, and fears. On the outside they write the people, events, forces and factors acting on and influencing the character.
Live from where it happened
Students could adopt the role of news reporters and role-play reporting from a key scene in their story. Using a simple app such as Green Screen, they could literally transport themselves to the scene. They film themselves in front of a green screen (a piece of plain fabric works well) and then import an image that they have created to illustrate it, making it look as though they are really there. They could take this further by interviewing people who are taking part or witnesses. They can then play the film back and use the dialogue generated in their graphic story or panel.
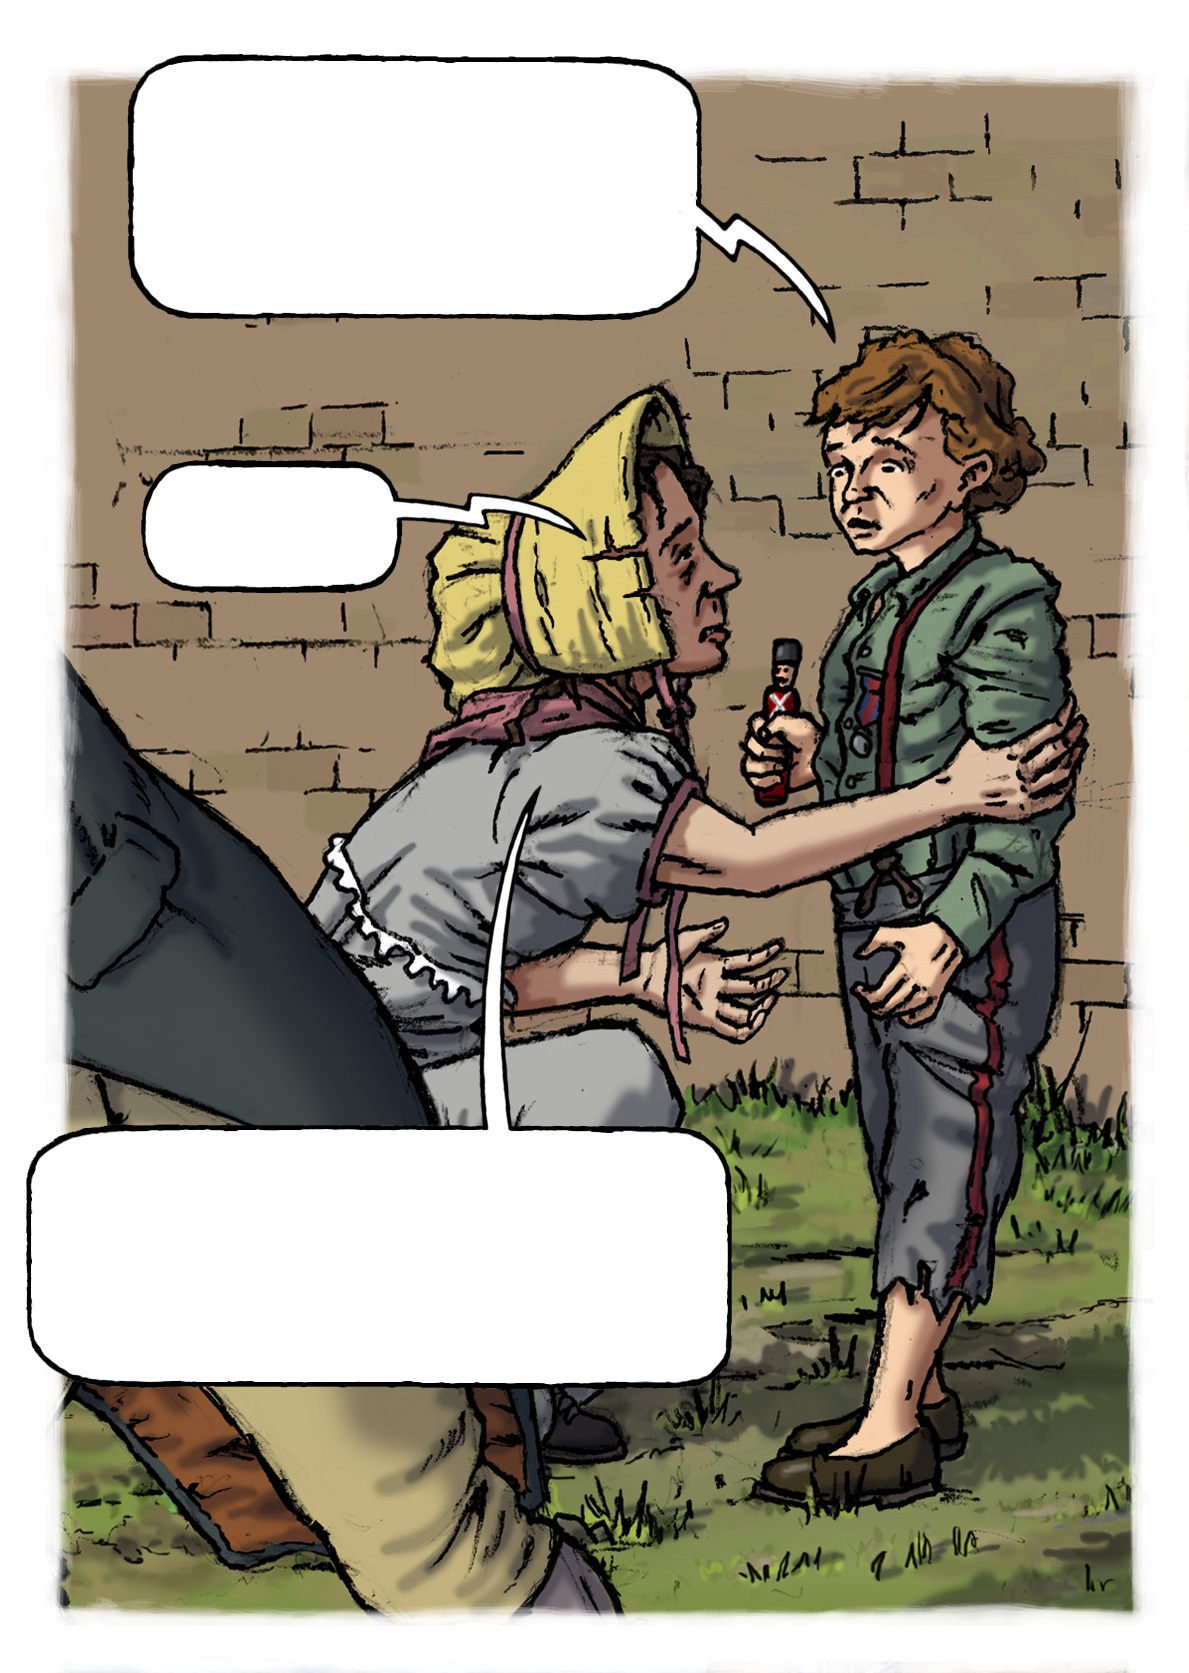
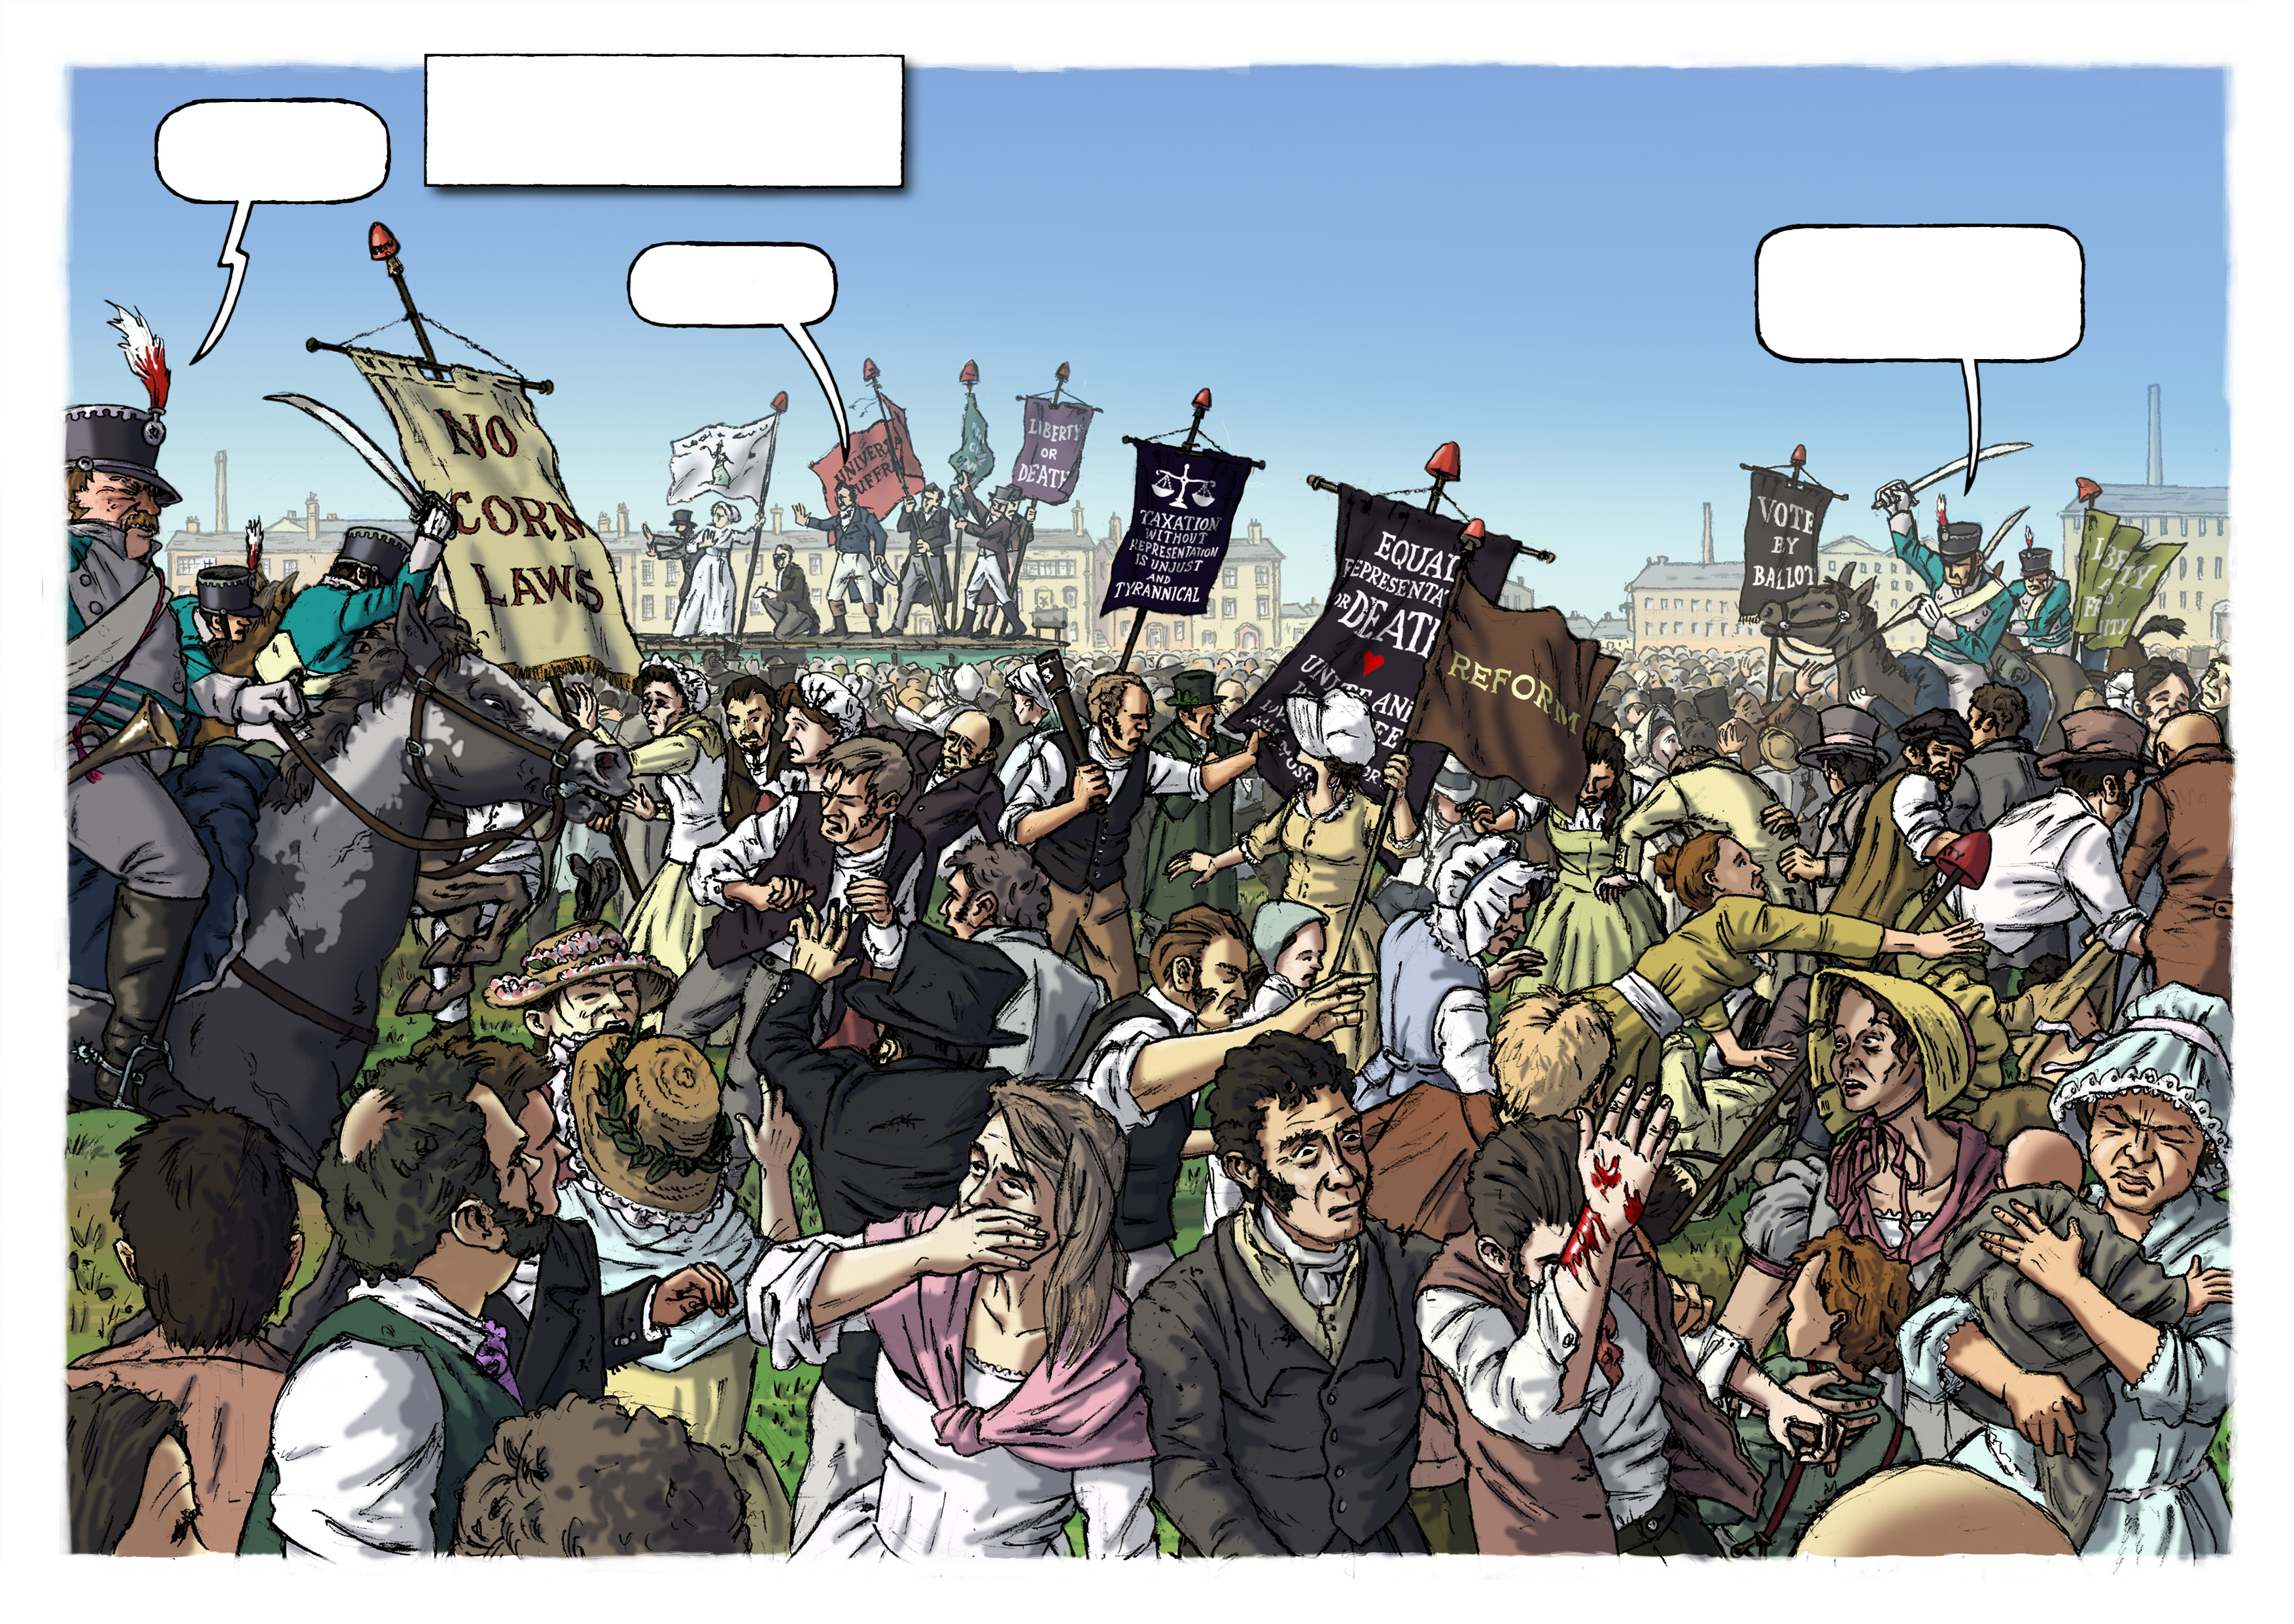
Different voices
Students can choose an example from our set of panels with redacted text from the Peterloo graphic novel (panel 1, panel 2, panel 3). Remind them that it is an image from the Peterloo Massacre which took place in Manchester 200 years ago. They look carefully at the image and consider:
- What do you think is happening in the picture?
- How might the people in the picture be feeling?
- What are the people in the picture wearing? Does this give you any clues about them or what they are doing?
- Where are they – are they in a house, a field, somewhere else?
- What other things can you see in the picture? What does this tell you about what might be happening?
- What might have happened just before?
- What might happen just after?
- What do you think the author is trying to tell the reader with this picture?
They then write a short piece of dialogue in the boxes to reflect their answers. Add more speech bubbles if needed.
Compare and discuss dialogue written by different students to help generate more ideas.
A complete version of the schools edition of the Peterloo graphic novel with fully redacted text is available here.
3. Planning
For students creating a whole story (rather than just one or two panels).
Elevator pitch
Students imagine they are pitching a new film based on their historical event or story to a big film producer they have bumped into in an elevator. Seizing this once-in-a-lifetime chance, they must describe their film to them in no more than one minute – the time it takes for the elevator to reach the top floor. They could create their pitch in pairs or groups and take it in turns to present their pitch to the class.
Story arcs
The Freytag pyramid illustrates one of the most common ways a plot can be structured in order to create an engaging story arc.
Students draw a Freytag pyramid, like this one, on a large piece of paper:
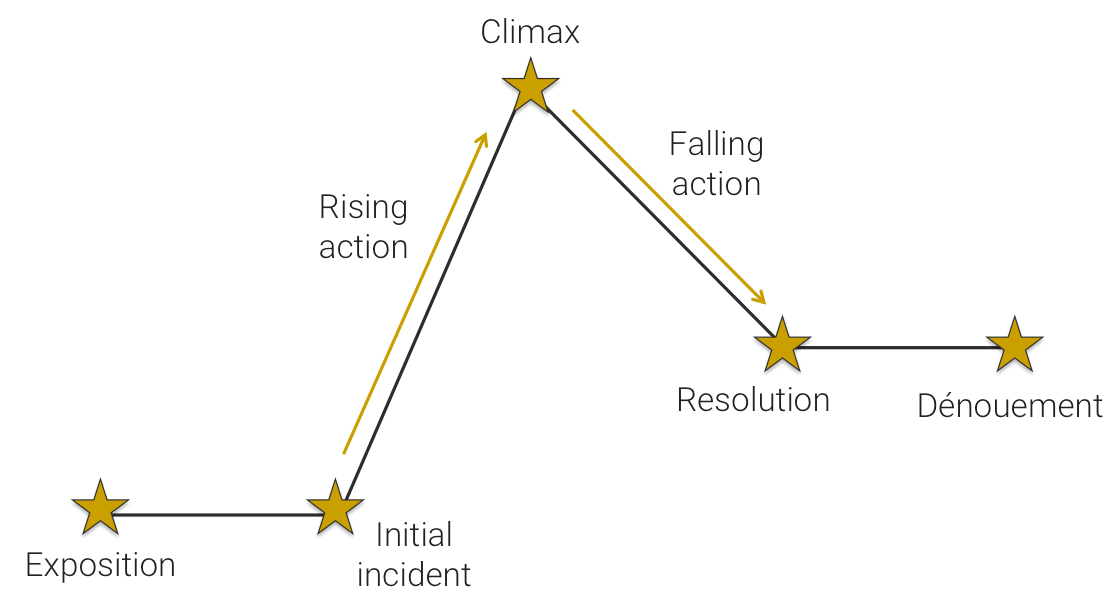
Example freytag pyramid
They write or draw simple descriptions of scenes for their story (according to the definitions below).
- Exposition: background information to the plot, including characters and setting.
- Initial incident: the first conflict that occurs.
- Rising action: around three events that add suspense or tension to the plot and lead to the climax.
- Climax: the most suspenseful or tense part of the plot. The turning point for the main protagonist (lead character).
- Falling action: around three events that unravel the conflict between the protagonist and antagonist (their adversary), leading to the resolution.
- Resolution: the conflict is resolved and the audience discovers whether or not the protagonist achieves his or her main goal.
- Dénouement: tying up the loose ends.
Students could try matching the different elements of the story in the Peterloo graphic novel before they think about creating their own.
Storyboarding
Students can create a simple storyboard to show a sequence of key events in their story. Try doing this in six simple sketches.
Relationship maps
Students write the names of the main characters onto a sheet of paper. They draw arrows from one character to another and write the relationship from one to another according to the direction of the arrow. They could extend this by adding an action or influence of one character on another.
4. Top tips for creating your panels and/or graphic story
- Plan and write your story before you commit to drawing it. Remember you will have to tell it through using just dialogue and pictures.
- Include between two and four panels per page.
- Make your characters instantly recognisable and stand out from each other by giving them something striking to wear or hold. Keep this and other features consistent across different panels. In the Peterloo graphic novel, the ‘Mum’ character wears a yellow bonnet in most of the scenes.
- Help readers understand the context by having a character briefly explain what’s happening or what has happened to someone else. In Peterloo, Sarah is telling her grandchildren all about the day it happened and so her voice can be used as a narrator if needed.
- Think carefully about what your characters would be wearing and carrying and whether these can help give across information. In Peterloo, people in the crowd are carrying banners which help us understand what they are campaigning for. There are liberty caps which stand for freedom and equal rights. What else can students spot?
- Choose an illustration style that won’t take too long to draw and colour
- Use character names in the dialogue as often as possible so we get to know who is who e.g ‘Hello Grandma’; ‘Where are you going Sarah?’.
- Include historical clues in your drawings – think about what type of transport might be used, what homes would look like, what clothes people would wear and what food they would eat.
- Think carefully about the title – how can that help set the scene?
- Have fun with it!
We are currently developing ideas for making digital comic books. Watch this space!