

How to design a quilt using digital collaging
Suitable for students aged 9+ (or younger if focusing on different subject matter)
This step by step guide shows how to create a quilt, using digital collaging, reflecting the broad range of people involved in the campaign to abolish the Transatlantic Slave Trade.
We do not recommend children under 9 years old study Transatlantic Slavery. Younger children could create quilts focusing on another revolutionary theme such as Transport, Inventions or Revolutionary people.
The legacies of Transatlantic Slavery still reverberate through our everyday lives. Some considerations for teaching and learning about this important history can be found here.
Further resources and guidance can be found from Understanding Slavery.
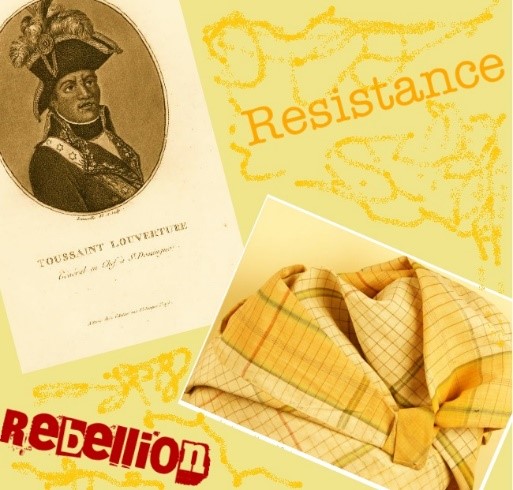
The campaign for the abolition of the Transatlantic Slave Trade involved many different groups. British men and women, religious groups and formerly enslaved people all played key roles in this campaign, while enslaved people themselves played a fundamental role in actively resisting and rising up against their enslavement.
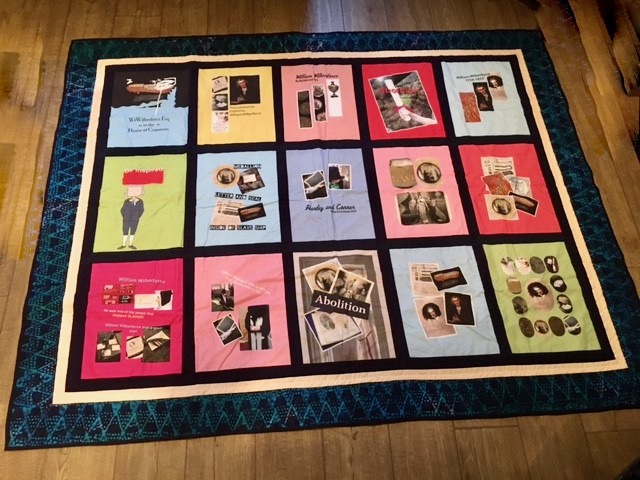
Heritage Learning, the education service for Hull Museums, worked with Year 5 pupils from St George’s Primary School in Hull at Wilberforce House Museum, and in the classroom, to explore the broad range of individuals involved in the abolition of Transatlantic slavery. They used their findings to design and create an ‘Abolition quilt’, using digital collaging techniques. Two quilts were made so both the school and the museum could keep a copy of the work to showcase this collaboration. See how they made their quilt here.
The project was inspired by the quilt-making practised by some enslaved people on plantations in the Americas, and the importance of preserving elements of their material culture – both as a form of resistance and in retaining their identities. It was also inspired by the idea of combining traditional and modern techniques.
1. Inspiration
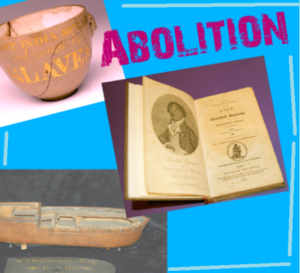
Make time to carefully introduce the students to the Transatlantic Slave Trade and some of the different people involved in the campaign to end it. Exploring the following objects from the Revolutionary Collection can help highlight the broad range of people involved in the campaign and how they fought for change:
• The interesting narrative of the life of Olaudah Equiano
• Drawer handle with abolitionist plaque
Teachers can use the Introducing the Age of Revolution guide to explore the concepts of revolution campaign and social change. The campaign to abolish Transatlantic Slavery was a major – and successful – movement during this period. Students could consider issues today such as climate change, inequality or animal welfare and how people campaign for change.
If relevant, students could also visit a local museum.
2. Generating ideas
To help the students develop their understanding of the Abolition campaign, ask them to create mind maps in small groups about who the different people involved in the campaign were and what they did. They can make notes and sketches of the objects they’ve been exploring. Make a class list together of useful words for students to include in their collages. Avoid words or labels which could have negative connotations or represent enslaved people as passive. Focus on positive action words such as ‘resistance’, ‘boycott’, ‘rise-up’.
Discuss with the group what is meant by a collage. What does this kind of art form involve? Show them some examples of collages made by different artists.
They could also look at the quilts in our Revolutionary Collection:
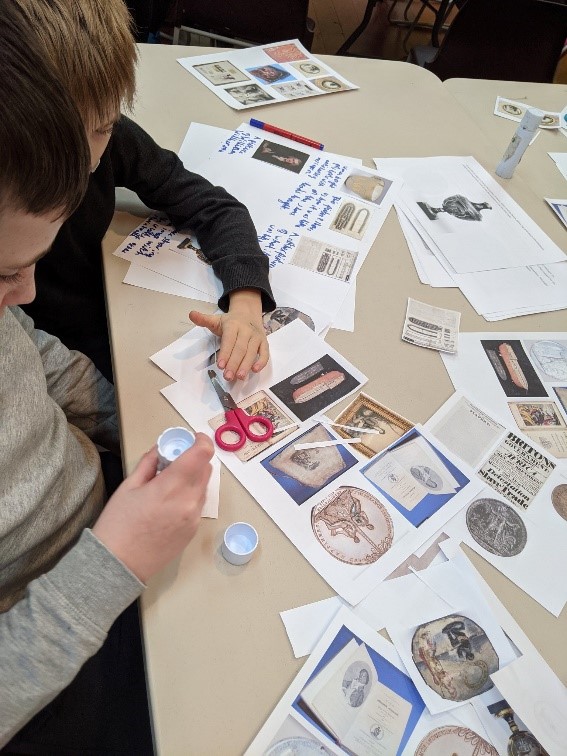
Ask the students to think about which objects, people and aspects of Abolition and resistance they would like to include in their collage. Making a paper collage is a great way for groups to try out and develop ideas, and to explore how they could arrange images and add pieces of text, colours and shapes to share the stories they want to tell.
To ensure that the quilt represents the different groups of people involved in the abolition of slavery as fairly as possible, you may choose to divide the class up into smaller project groups that each focus on a particular theme. For example, some groups could be asked to explore enslaved resistance in their collages whilst other could look at the role of women in the abolition campaign, and so on.
3. Planning: choosing an app, fabric and printing method
Digital technology
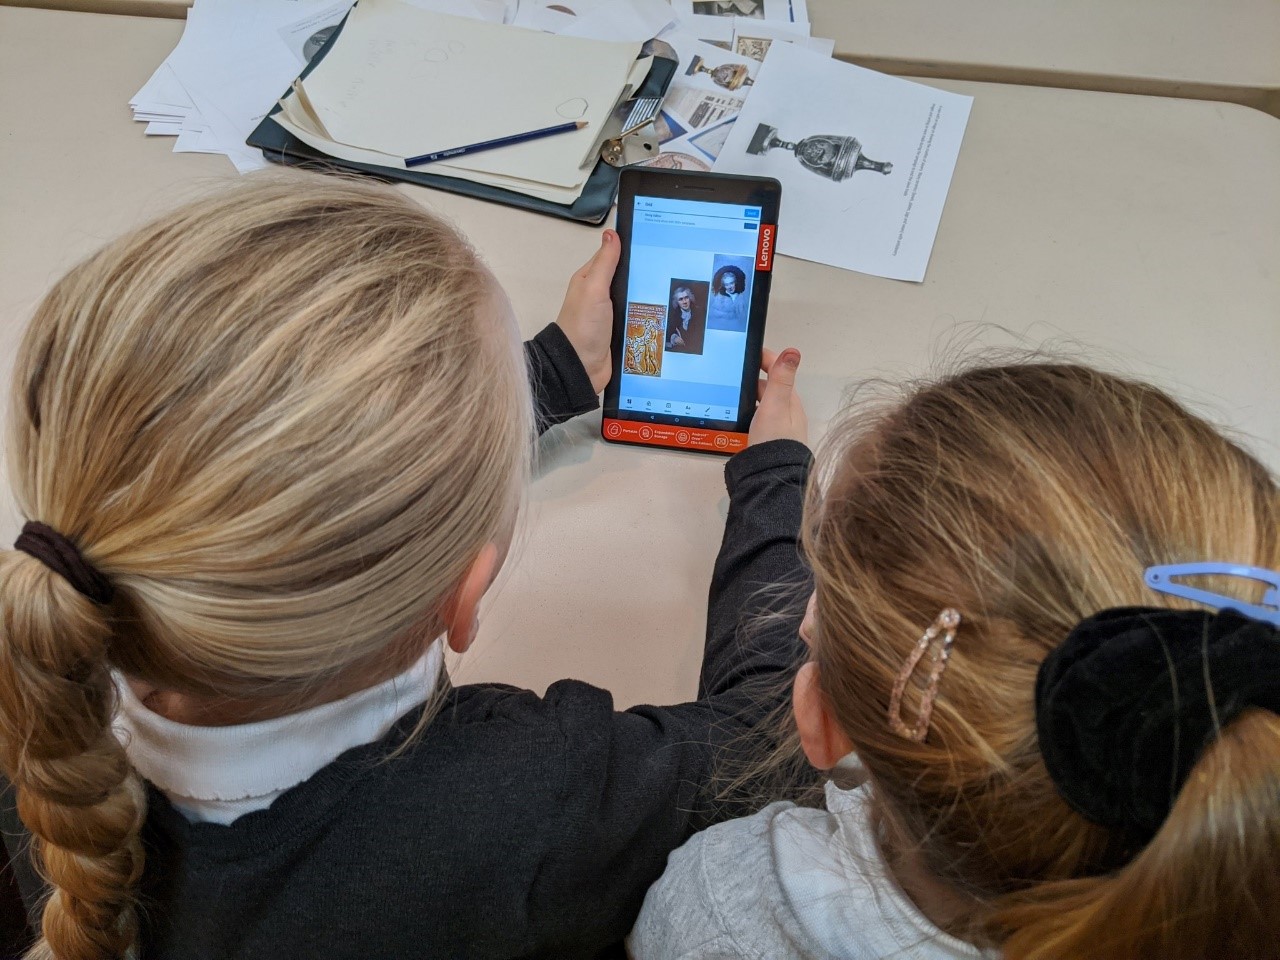
Hull Museums used android tablets and the Collage Maker Photo Editor app. Lots of other collaging apps are available including ones compatible with iPad, PC and Mac.
Download the images you wish to use to for your collages from the Revolutionary Collection onto your device. Make sure to check through any requirements for using these images on the link next to them on the website. Museums including Hull Museums, the International Slavery Museum in Liverpool, and the National Maritime Museum in London also have digitised collections which explore the Abolition campaign.
Printing
Decide how many digital collages you want your quilt to be made up of, how big you want the collages to be, how you are going to print them onto fabric and the type of fabric to print onto. It’s a good idea at this point to also think about where you would like to display your quilt at the end of the project as this may influence these decisions.
The Year 5s from St George’s school, a class of 30, worked in pairs to design a total of 15 A4-sized collages (the Collage Maker app allows you to set the size of each design).
For this project, an artist from the local Makerspace used an online service to print the design onto fabric and deliver it to the Museum. Many websites like this are available. Or you could arrange for your designs to be printed onto fabric in your local Makerspace, or print your designs onto transfer paper and use heat to apply them to the fabric yourself.
Fabric
The Museum used calico as it is an easy fabric to hand sew. Additional fabrics can be used as border to go around the outside edge, between the different collage pieces, and as backing for the quilt. Wadding – a kind of fabric insulation layer – can also be sewn between the front and back panels of your quilt to make it fuller. This will also make the quilt hang better when it is displayed on a wall.
This project used a traditional West African-style fabric for the borders of the quilt. West Africa has a long history of textile production dating back to before the Transatlantic Slave Trade began. Finding ways to preserve their culture and traditions was an important way that many enslaved people who had been taken from their homes in West Africa resisted and rebelled against their enslavement.
4. Making
Collage Making
Make digital versions of the collages with the students using your chosen app. Save the files and arrange for them to be printed onto fabric.
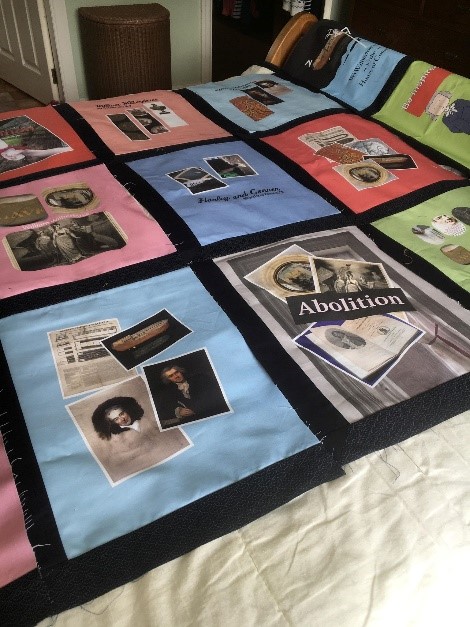
Here are some examples of digital collages created to reflect the broad range of people involved in the campaign for abolition.
If your fabric is printed onto one long roll, carefully cut out the collages to make individual panels.
Depending on the age of the students, the panels can be sewn together by hand or using a sewing machine. They could also sew a strip of border fabric around their panel – as with this project.
If sewing by hand, students can practice simple sewing techniques and stitches, such as running stitch and back-stitch, on scraps of fabric first. They can then each sew their panels together. It can be useful to have a sewing machine on hand for a member of staff (or older student) to use, to help tidy up any loose ends, attach the outside border and the wadding and backing for the quilt.
As an additional activity, the children could do a short piece of writing or give a presentation in their small groups about which images they chose to include in their collages and why.
