Making our Abolition quilt using digital collaging with Hull Museums
May 20, 2020 - Kate McNab in News & Blog Posts
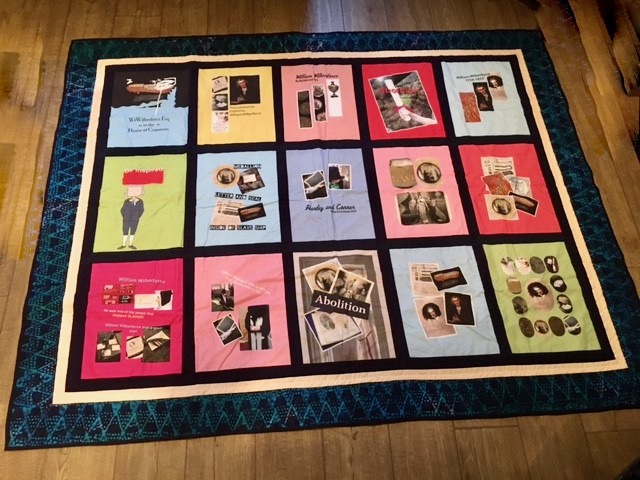
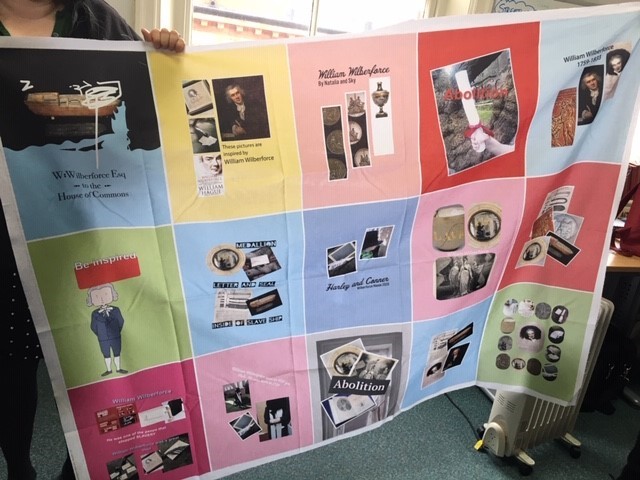
Heritage Learning, the education service for Hull Museums, worked with Year 5 students from St George’s Primary school to make two matching quilts, one for the school and one for the museum to display. The quilts were made up of printed digital collages that explored the many different groups and individuals involved in the campaign to abolish the Transatlantic Slave Trade. The project with an emphasis on telling the stories of those whose role in the fight to end slavery has often been overlooked, such as enslaved people and British women.
The project involved two workshops, one at Wilberforce House Museum, the other back in the classroom at school.
See our simple step-by-step guide for making your own digital collage quilt in the classroom.
1. Inspiration
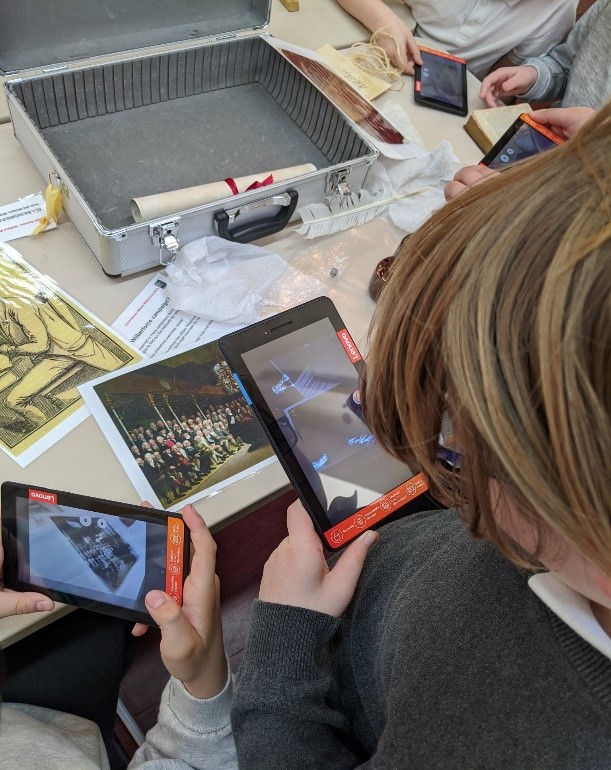
During a visit to Wilberforce House Museum, the students:
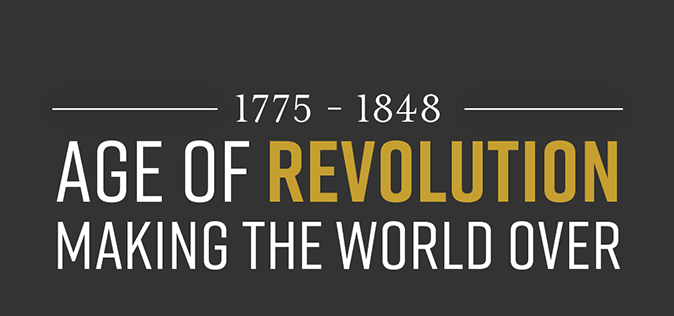
• Were introduced to the Age of Revolution and how the campaign for the abolition of the Transatlantic Slave Trade was one of the major campaigns to happen during this time period
• Explored the history of the Transatlantic Slave Trade through maps, images and handling objects
• Discussed what we mean by a campaign and thought of examples of campaigns they knew of from today
• Were introduced to the fact that the campaign to abolish the Transatlantic Slave Trade involved many different individuals and groups (British men and women, formerly enslaved and enslaved people) but that the role of some of these people isn’t as well-known as that of others
• Collected information about how these different groups supported the campaign for Abolition through on-gallery investigation and object handling
• Took photos and made sketches as they explored.
2. Developing Collage Ideas
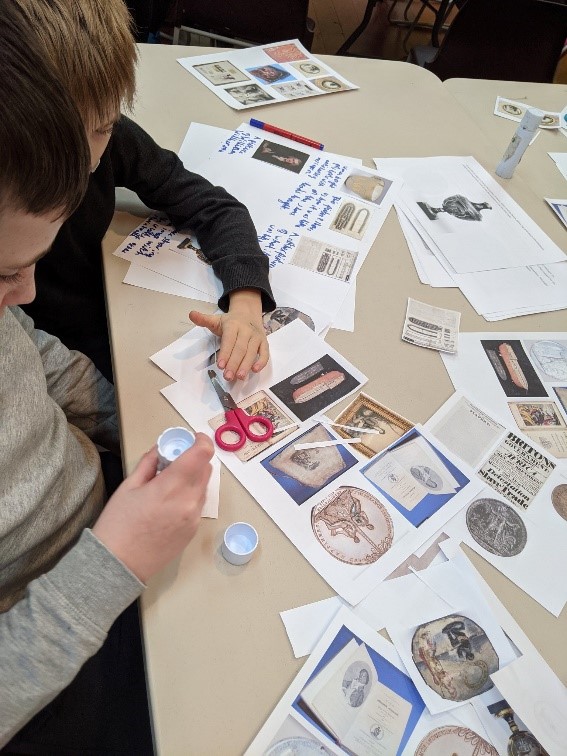
In pairs, the students:
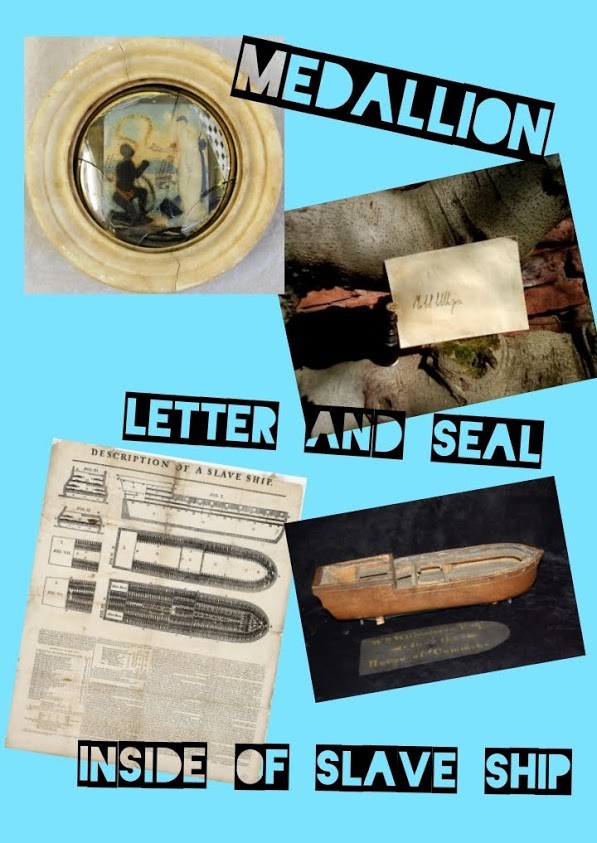
• Explored objects from the Revolutionary Collection including:
⁃ Cotton kerchief (headwrap)
⁃ Description of a Slave Ship
⁃ The interesting narrative of the life of Olaudah Equiano.
They thought about what these objects can tell us and which groups involved in the campaign for Abolition they link to.
• Used print-outs of these collection images, and images from the Hull Museums abolition collections to make paper collages reflecting the many different people involved in the Abolition campaign.
• Thought about how they could use text, colours and shape in their design to help share these stories effectively.
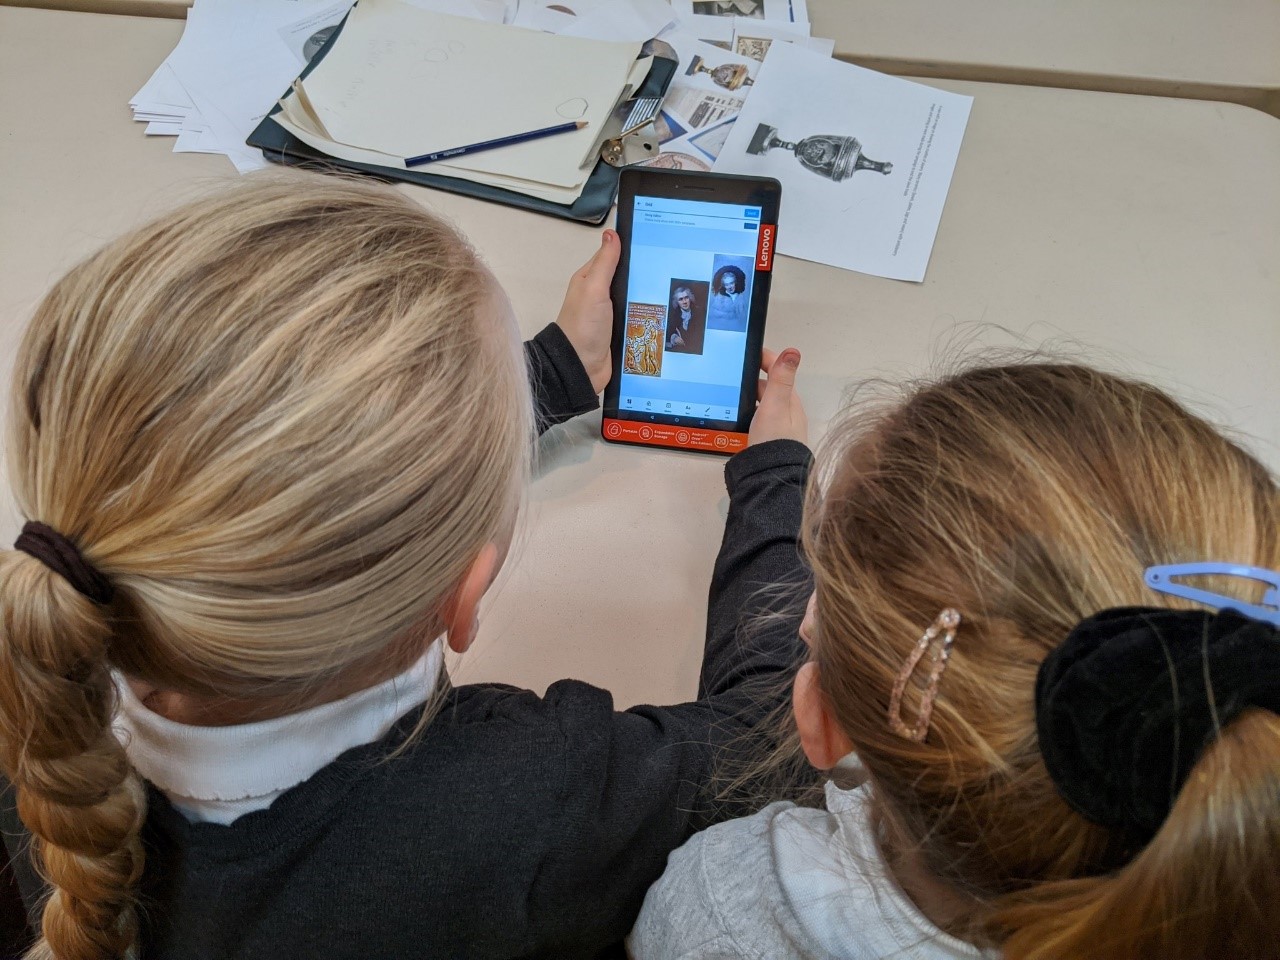
3. Making the digital collages
The students worked in pairs using android tablets and the Collage Maker – Photo Editor app to create their design. The collections images were all uploaded to the devices in advance and the collage designs within the app were set to A4 size ready for the group to begin designing.

4. Printing
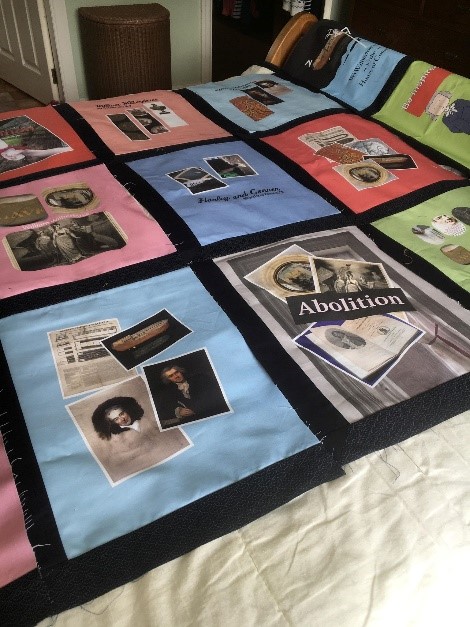
We worked with an artist from our local Makerspace who uploaded our collage files to an online fabric printing website, arranging and editing them to fit onto a large piece of fabric.
When the printed fabric arrived to us by post, we carefully cut out each collage leaving a small border of spare fabric around it ready to sew the quilt.
We bought some extra fabric to use as borders between the collages and around the outside of the quilt. These were also cut to size.
5. Sewing the Quilt
The final workshop, sewing the quilts, took place in the classroom at school. During this workshop:
• The children practised running stitch and back stitch on scrap pieces of fabric
• Sewed their collages to the border pieces of fabric in pairs, before joining them up with the other collage panels
• The outside border was then sewn to the quilt around the collage panels
• A sewing machine was used by a trained adult to help tidy up and finish off any trickier bits of the design, and attach the wadding and the backing fabric to the front of the quilt to complete the piece.